Electric Guitar Measurements
Tracing & Photos
1. Measurements
Download and print measurement form.
Place the instrument on the table, slanted headstock should hang off table edge. Tip: Try a stack of post-it notes, business cards, or an eraser.
Take measurements to the nearest 1/16". Note anything unusual about your instrument on the form either in the notes filed or on the provided diagram in the lower right corner.


Slanted headstock should hang off table edge.

Straight headstock should lay flat on table.
2. Tracing
Place the instrument laying flat on a solid surface, with the paper placed underneath. Use a sturdy paper but no cardboard please.
With your drawing tool placed firmly against the instrument's edge, and perpendicular to the surface of the paper, mark the paper according to the contour of the instrument.
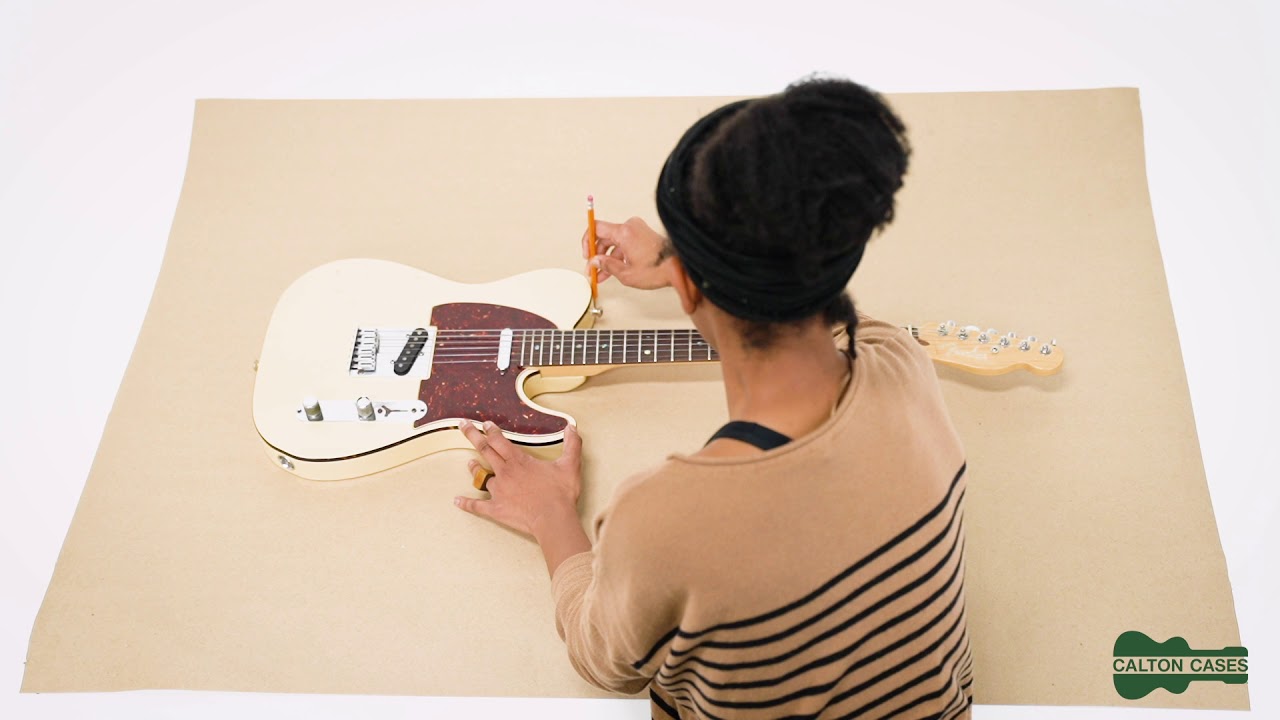
Tracing Tutorial Video
3. Photos
Take 3 photos of your instrument and submit them with your tracing. Place a 3 inch x 3 inch post-it note on instrument body (we use this for scale).

A. Hold camera directly above the center of the body and photograph the body.

B. Hold camera directly above center of instrument and photograph the entire instrument.

C. Hold camera perpendicular to the side of instrument and photograph side profile of the entire instrument.